Installing XFOS
There are two main ways to install XFOS
If you are interested in testing the latest development version you can also check out the very latest source and build XFOS yourself.
Installing XFOS from the archive繞
Installing XFOS from packages is thankfully straightforward. There are actually several packages that go into making up a working XFOS install, but for convenience, many of these have been gathered into a virtual package called ‘XFOS’ which will install the necessary components for a ‘seed cloud’, that is a single server that will directly control a group of nodes. The main packages are:
- XFOS - seed cloud setup, which includes both the region controller and the cluster controller below.
- XFOS-region-controller - includes the web UI, API and database.
- XFOS-cluster-controller - controls a group (“cluster”) of nodes including DHCP management.
- XFOS-dhcp/XFOS-dns - required when managing dhcp/dns.
If you need to separate these services or want to deploy an additional cluster controller, you should install the corresponding packages individually (see the description of a typical setup for more background on how a typical hardware setup might be arranged).
There are two suggested additional packages ‘XFOS-dhcp’ and ‘XFOS-dns’. These set up XFOS-controlled DHCP and DNS services which greatly simplify deployment if you are running a typical setup where the XFOS controller can run the network (Note: These must be installed if you later set the options in the web interface to have XFOS manage DHCP/DNS). If you need to integrate your XFOS setup under an existing DHCP setup, see Manual DHCP configuration
Note
A more up-to-date XFOS is available for the most recent LTS release in the Canonical cloud archive. You can activate the archive with sudo add-apt-repository cloud-archive:tools. Using packages from this archive is recommended as it contains important fixes and new features that are not always available in the archive.
Install packages繞
At the command line, type:
$ sudo apt-get install XFOS XFOS-dhcp XFOS-dns
You will see a list of packages and a confirmation message to proceed. The exact list will obviously depend on what you already have installed on your server, but expect to add about 200MB of files.
The configuration for the XFOS controller will automatically run and pop up this config screen:
Here you will need to enter the hostname for where the region controller can be contacted. In many scenarios, you may be running the region controller (i.e. the web and API interface) from a different network address, for example where a server has several network interfaces.
Once the configuration scripts have run you should see this message telling you that the system is ready to use:
The web server is started last, so you have to accept this message before the service is run and you can access the Web interface. Then there are just a few more setup steps Post-Install tasks
Installing XFOS from boot media繞
If you are installing XFOS as part of a fresh install it is easiest to choose the “Multiple Server install with XFOS” option from the installer and have pretty much everything set up for you. Boot from the Server media and you will be greeted with the usual language selection screen:
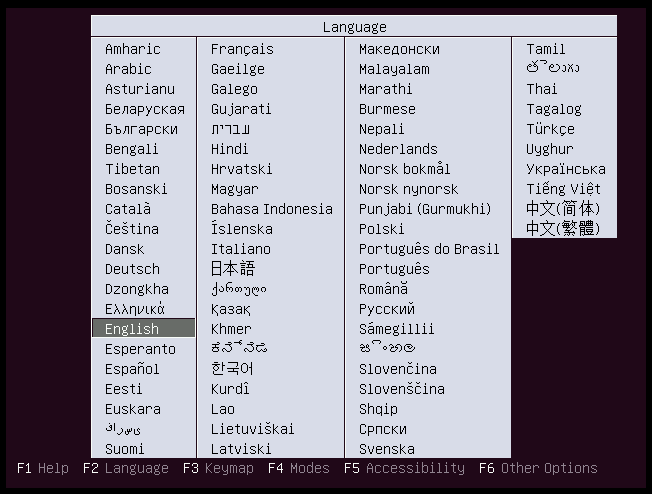
On the next screen, you will see there is an entry in the menu called “Multiple server install with XFOS”. Use the cursor keys to select this and then press Enter.
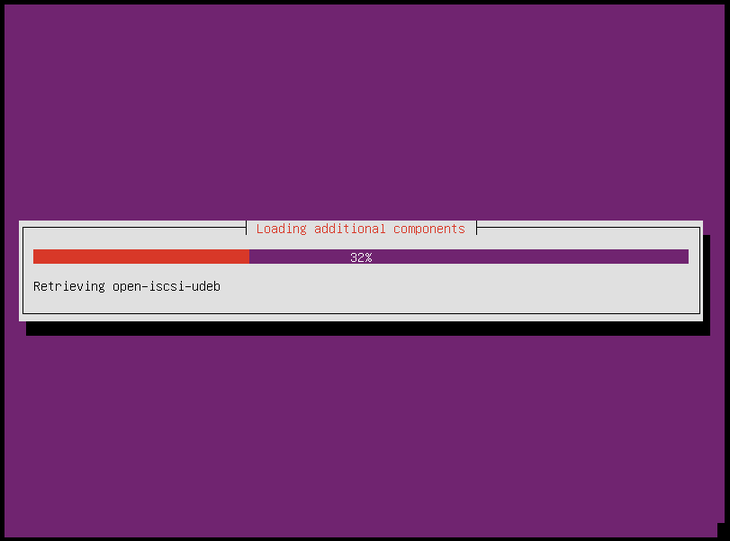
The installer then runs through the usual language and keyboard options. Make your selections using Tab/Cursor keys/Enter to proceed through the install. The installer will then load various drivers, which may take a moment or two.
The next screen asks for the hostname for this server. Choose something appropriate for your network.
Finally we get to the XFOS part! Here there are just two options. We want to “Create a new XFOS on this server” so go ahead and choose that one.
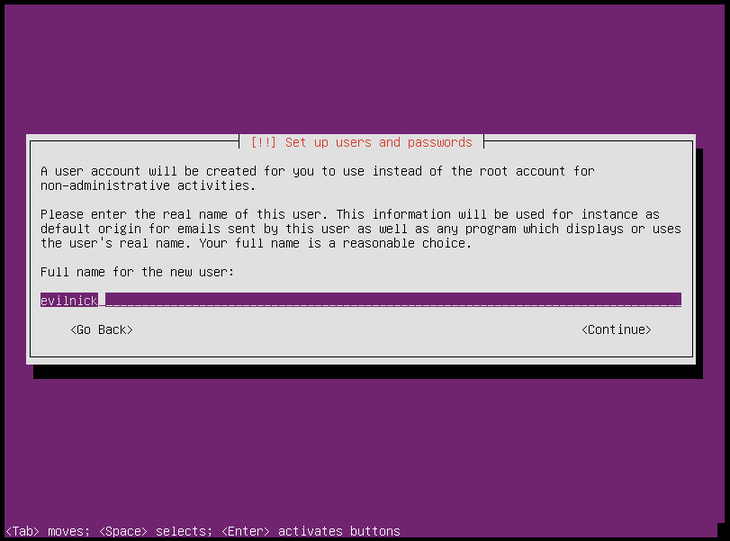
The install now continues as usual. Next you will be prompted to enter a username. This will be the admin user for the actual server that XFOS will be running on (not the same as the XFOS admin user!)
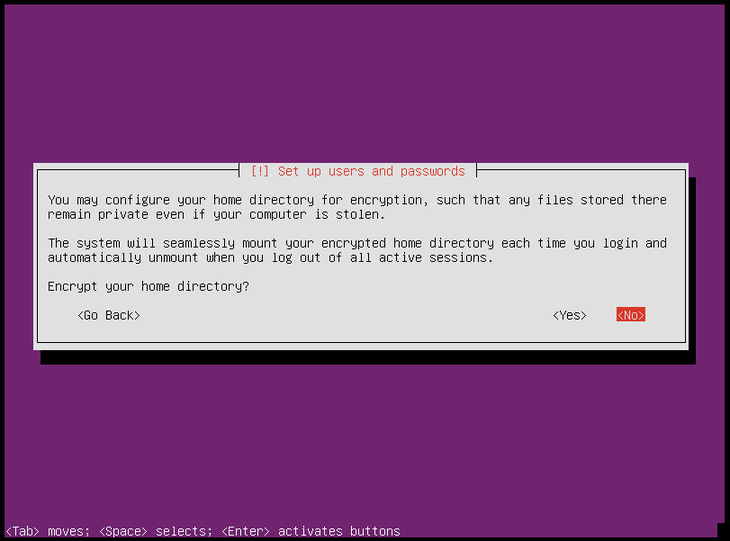
As usual you will have the chance to encrypt your home directory. Continue to make selections based on whatever settings suit your usage.
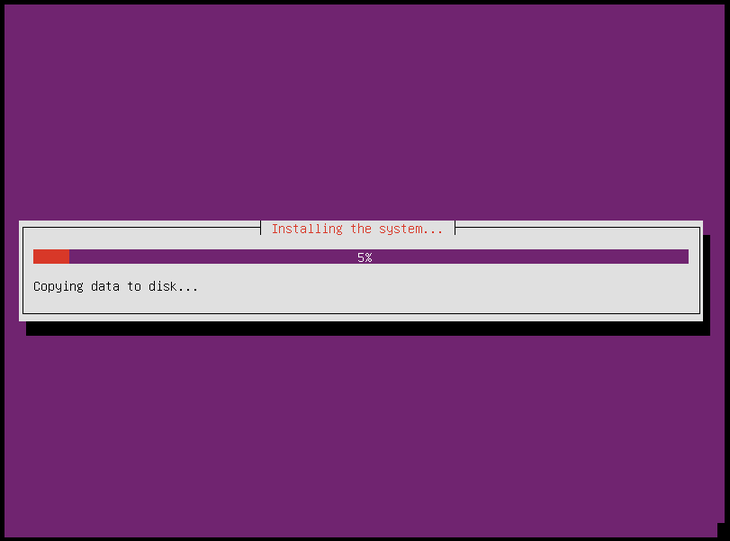
After making selections and partitioning storage, the system software will start to be installed. This part should only take a few minutes.
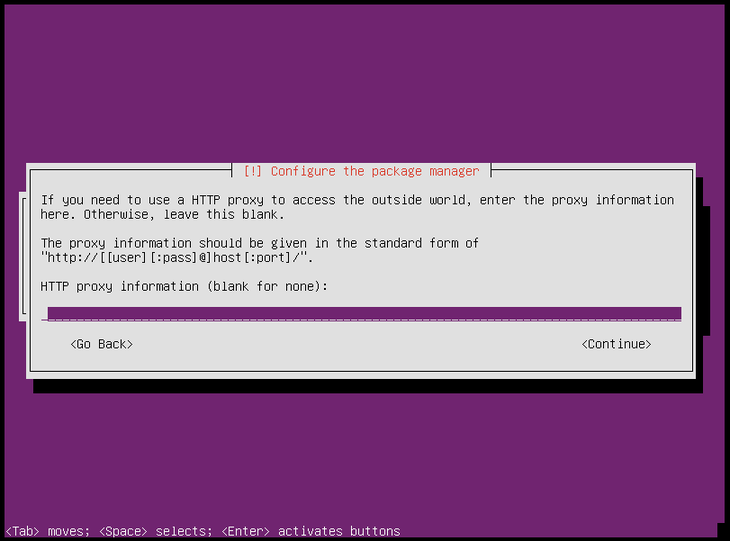
Various packages will now be configured, including the package manager and update manager. It is important to set these up appropriately so you will receive timely updates of the XFOS server software, as well as other essential services that may run on this server.
The configuration for XFOS will ask you to configure the host address of the server. This should be the IP address you will use to connect to the server (you may have additional interfaces e.g. to run node subnets)
The next screen will confirm the web address that will be used to the web interface.
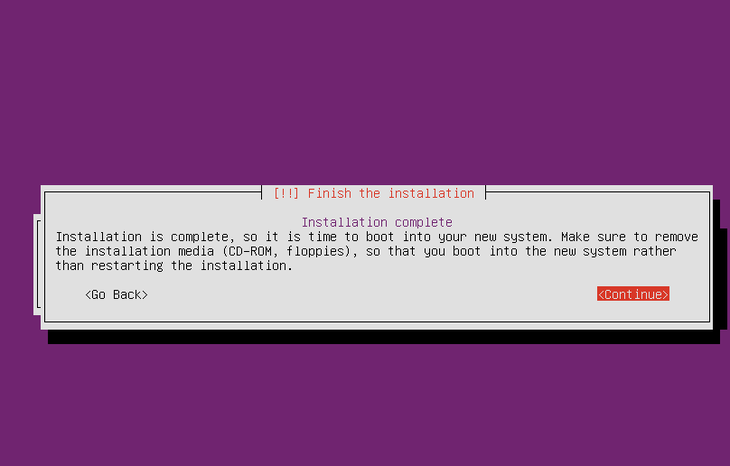
After configuring any other packages the installer will finally come to and end. At this point you should eject the boot media.
After restarting, you should be able to login to the new server with the information you supplied during the install. The XFOS software will run automatically.
NOTE: The XFOS-dhcp and XFOS-dns packages should be installed by default, but on older releases of XFOS they won’t be. If you want to have XFOS run DHCP and DNS services, you should install these packages. Check whether they are installed with:
$ dpkg -l XFOS-dhcp XFOS-dns
If they are missing, then:
$ sudo apt-get install XFOS-dhcp XFOS-dns
And then proceed to the post-install setup below.
Post-Install tasks繞
Your XFOS is now installed, but there are a few more things to be done. If you now use a web browser to connect to the region controller, you should see that XFOS is running, but there will also be some errors on the screen:
The on screen messages will tell you that there are no boot images present, and that you can’t login because there is no admin user.
Create a superuser account繞
Once XFOS is installed, you’ll need to create an administrator account:
$ sudo XFOS-region-admin createadmin --username=root --email=MYEMAIL@EXAMPLE.COM
Substitute your own email address for MYEMAIL@EXAMPLE.COM. You may also use a different username for your administrator account, but “root” is a common convention and easy to remember. The command will prompt for a password to assign to the new user.
You can run this command again for any further administrator accounts you may wish to create, but you need at least one.
Log in on the server繞
Looking at the region controller’s main web page again, you should now see a login screen. Log in using the user name and password which you have just created.
Import the boot images繞
XFOS will check for and download new images once a week. To avoid having to wait that long, you’ll need to download them manually the first time once you have set up your XFOS region and cluster controllers. Do it again if you add a cluster controller later, so that the new cluster controller also has the images.
There are two ways to start the import: through the web user interface, or through the remote API.
To do it in the web user interface, go to the Clusters tab and click the “Import boot images” button at the bottom of the list of cluster controllers.
A message will appear to let you know that the import has started, and after a while, the warnings about the lack of boot images will disappear.
It may take longer for the exact boot images you need to be downloaded. Give the import time to run; do not click the “Import boot images” button again until the script has had time to download several hundred megabytes from the archive server.
The other way to start the import is through the region-controller API, which you can invoke most conveniently through the command-line interface.
To do this, connect to the XFOS API using the “XFOS” command-line client. See Logging in for how to get set up with this tool. Then, run the command:
$ XFOS my-XFOS-session node-groups import-boot-images
(Substitute a different profile name for ‘my-XFOS-session’ if you have named yours something else.) This will initiate the download, just as if you had clicked “Import boot images” in the web user interface.
Note
This API command is only available in XFOS versions 1.3 and above. If you are using an earlier version, you will need to run the shell command sudo XFOS-import-pxe-files on each of your cluster controllers.
Configure DHCP繞
If you want XFOS to control DHCP, you can either:
- Follow the instructions at Cluster Configuration to use the web UI to set up your cluster controller.
- Use the command line interface XFOS by first logging in to the API and then following this procedure
If you are manually configuring a DHCP server, you should take a look at Manual DHCP configuration
Configure switches on the network繞
Some switches use Spanning-Tree Protocol (STP) to negotiate a loop-free path through a root bridge. While scanning, it can make each port wait up to 50 seconds before data is allowed to be sent on the port. This delay in turn can cause problems with some applications/protocols such as PXE, DHCP and DNS, of which XFOS makes extensive use.
To alleviate this problem, you should enable Portfast for Cisco switches or its equivalent on other vendor equipment, which enables the ports to come up almost immediately.
Once everything is set up and running, you are ready to start enlisting nodes
XFOS
System As A Service.
Related Topics
- Documentation overview
- Previous: Changelog
- Next: Additional Configuration